Salted Caramel Apple Galette
Mostly, I tend to tell people that I am not a baker. Baking is not instinctual to me – I didn’t grow up eating baked goods. My mother is a smashing cook, but has never baked a thing in her life. The first cake I ever made was out of a box. And then there was the time my sister and I dabbled in pavlova making, aided by the amazing Pavlova Magic. Growing up, this was the extent of my exposure to flour, eggs and sugar.
Thankfully, I have evolved to make a decent pavlova nowadays. Ironically, as many of you may know, my career in food started in baking French macarons for a local café (owned by my dear friends Remy and Lee) in Surry Hills, Sydney. In those days, I chased absolute perfection in my baking. Batches upon batches of imperfect macarons were discarded. I soon learnt that making macarons in the humidity of Sydney was not exactly ideal. That career was never going to last.
These days, I would say I am a comfortable baker - I have managed to master a few classic baked recipes but am by no means an expert. My most well known sweet, one quite synonymous with Arthur Street Kitchen, is my Salted Caramel Slice, a twist on the classic Australian cake stall favourite. My love of salted caramel led me to this new classic, an incredibly indulgent dessert of fresh seasonal apples laced in salted caramel, wrapped in an incredibly crumbly pie pastry.
This galette is made in 3 parts. First, there is the pie crust, which I have brazenly coined the ‘best-ever’. I am willing to go out on a limb here and back my claim 100%. I have made this crust many times, and on every occasion, it has turned out flaky, melty and delicious. The best thing of all, you don’t need any apparatus to make it, just your fingertips! Next, there is the filling, which is simply apple and spices. The last (but not least) component is the salted caramel – this caramel recipe is super easy and fairly fail proof, but you do have to exercise caution when you add in the butter and cream as it bubbles quite violently!

Salted Caramel Apple Galette
Incidentally, this quantity of pie pastry is enough to make a traditional 9inch/22cm double crust apple pie. Just halve the pastry before you chill it – roll out one half for the bottom of the pie, then use the other half for the pie top.
For this galette, I used golden delicious apples, but use whichever apples you have on hand, or even two different varieties.
Makes 6 Individual Sized Galettes
Best ever pie crust
- 2 cups plain flour, plus extra for rolling
- 12 tbsp/175g cold unsalted butter
- ¼ cup sugar
- 1 tsp salt
- ½ cup cold milk, plus extra for glazing pastry
Filling
- 2-3 apples (about 400g/14oz), peeled
- Juice of 1 lemon
- 2 tbsp brown sugar
- ¾ tsp cinnamon
- ¼ tsp nutmeg
- ½ tsp vanilla extract
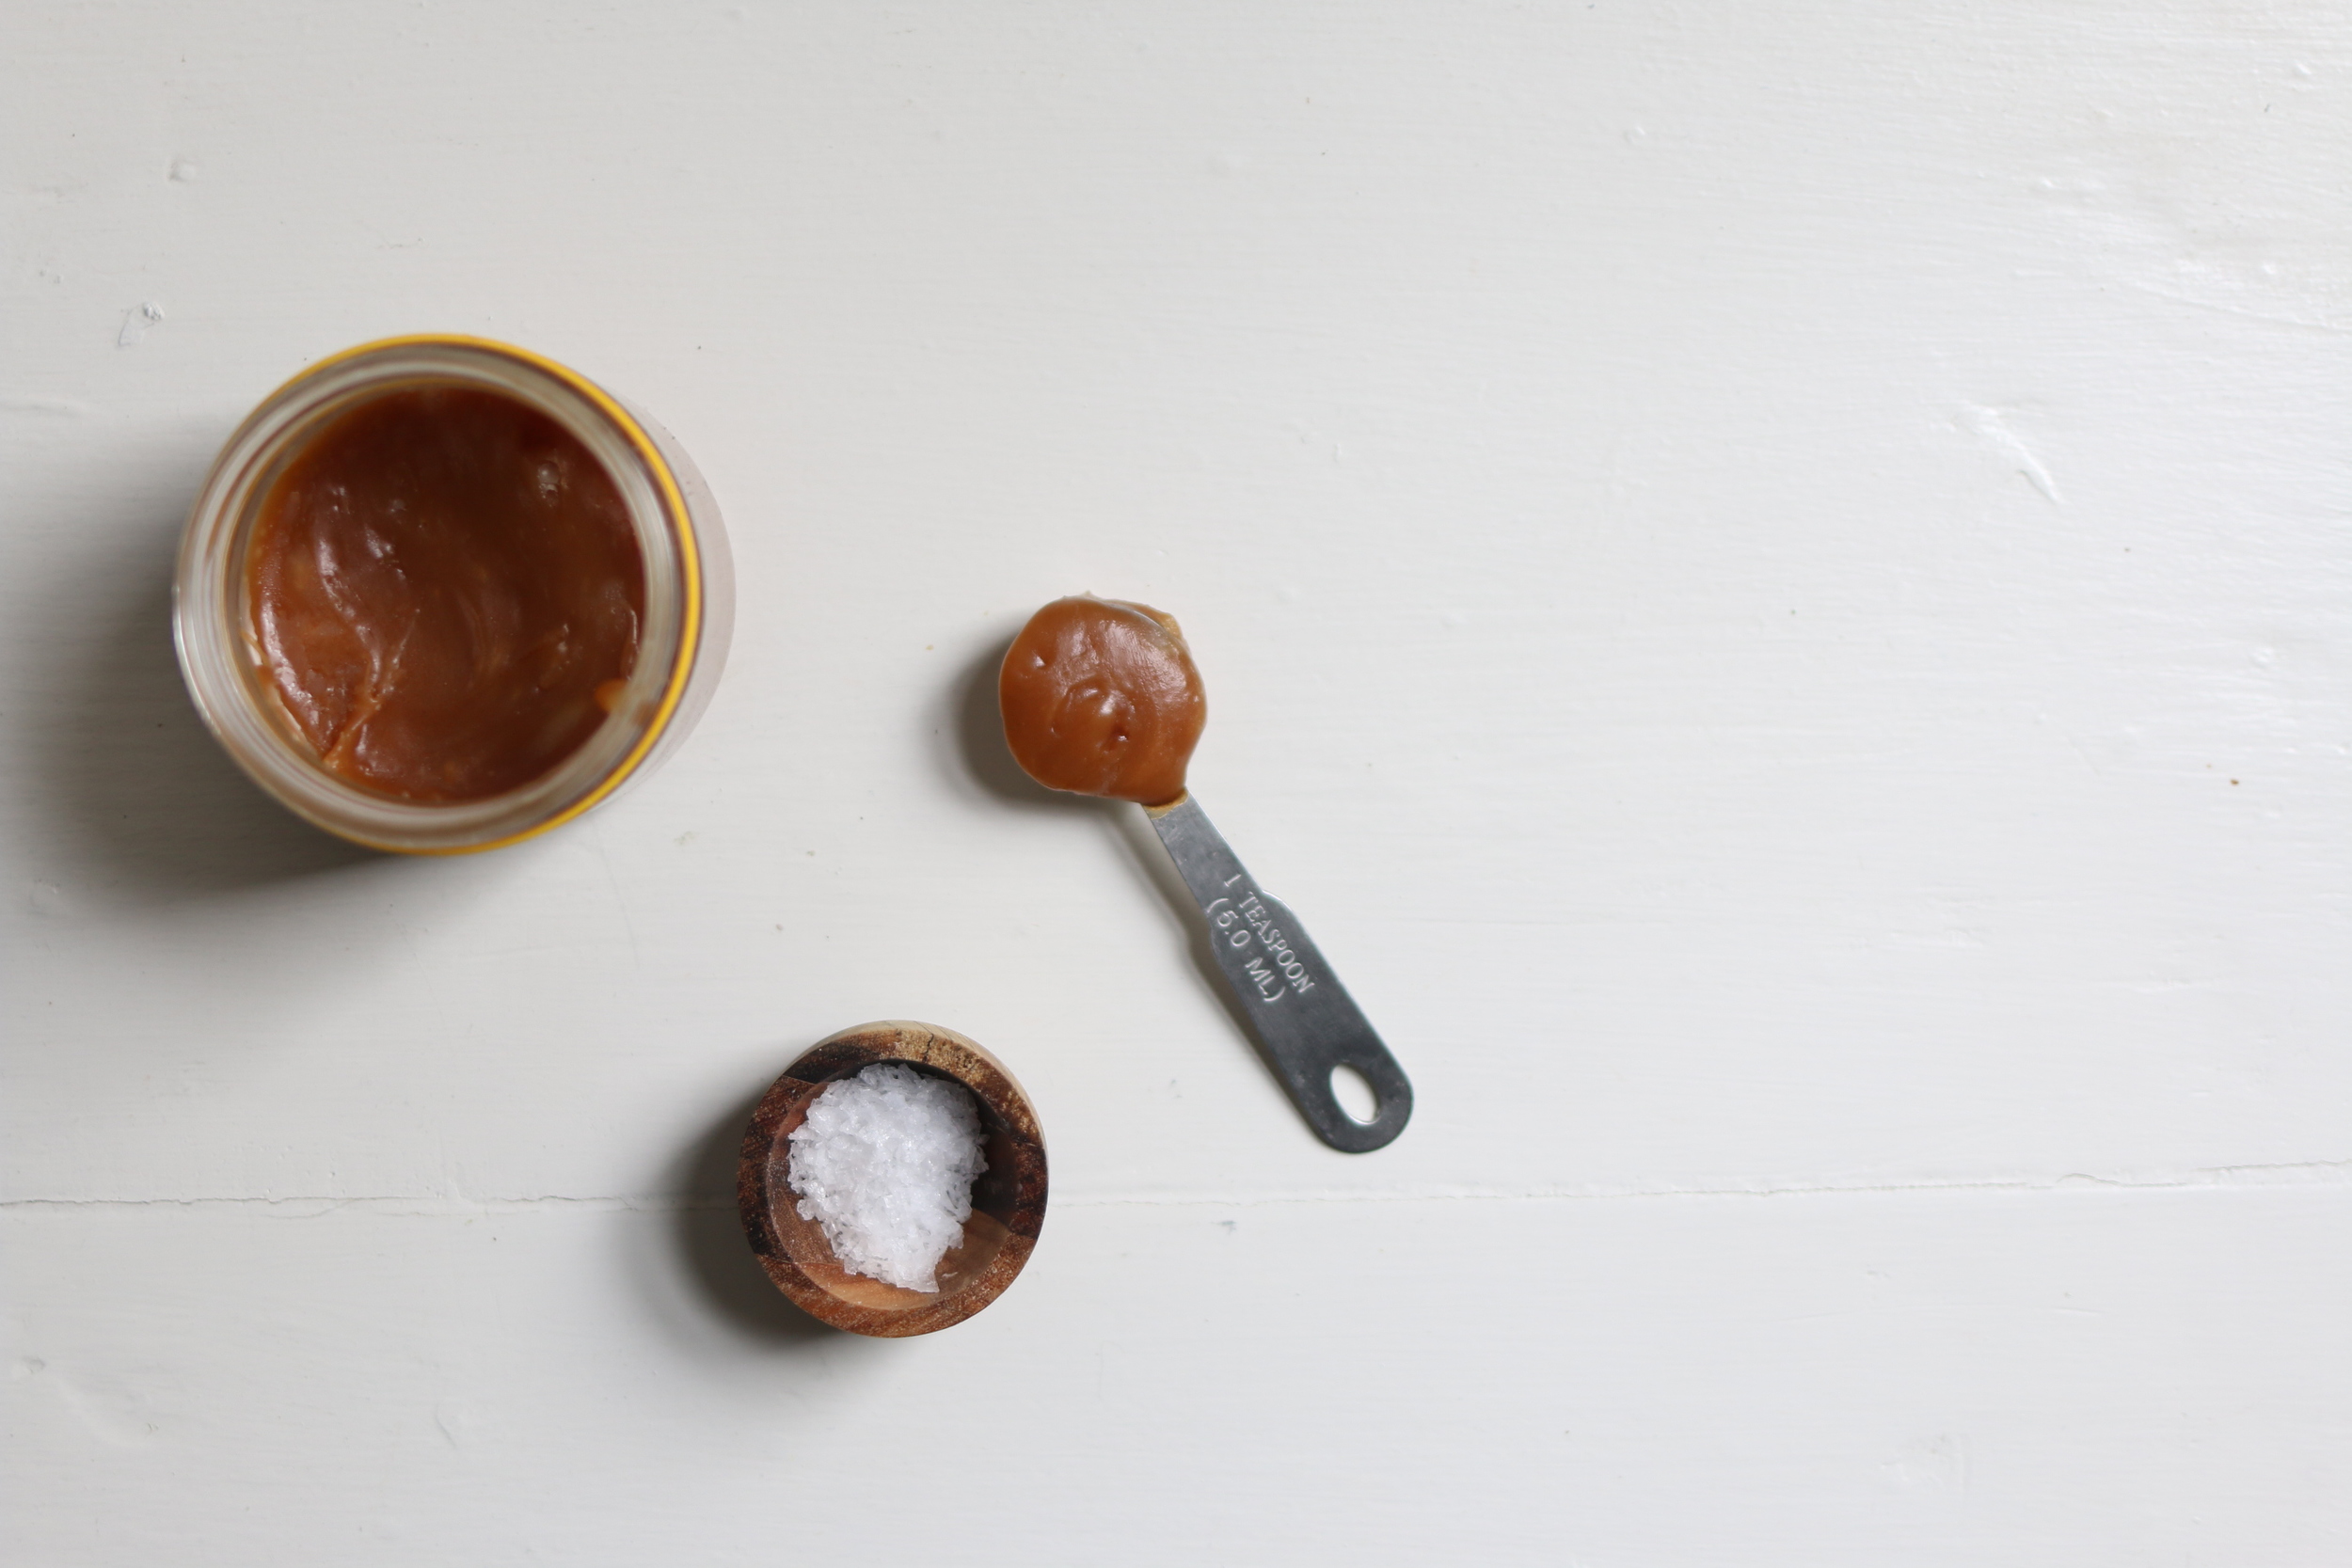
Salted caramel
- ½ cup sugar
- 50g (4 tbsp/1/2 stick) salted butter
- ¼ cup cream
- 2 tsp sea salt flakes
Pie Pastry
In a large bowl, add the flour, sugar, salt and cold butter. Using your fingertips, work the butter into the flour, until you get pea-size pieces. You don’t need to work it too much at this point. If you still see little blobs of butter, that is fine – it will all add to the melt-in-your-mouth pastry. Add the cold milk, and mix until a dough forms. Do not over mix. The less you work the dough at this point, the flakier (or to use the pastry term short) your dough will be. Wrap the dough in plastic wrap and allow to rest for at least 1 hour in the refrigerator (or even overnight!).
Note: Keeping your pastry as cold as possible means that the fat won’t melt before baking. When the lumps of fat melt in the oven as the pastry bakes, it results in lots of flaky layers and extra deliciousness
Apple filling
If you have an apple corer, core the apples. Otherwise, slice the apple first, then use a sharp paring knife to dig out the core.
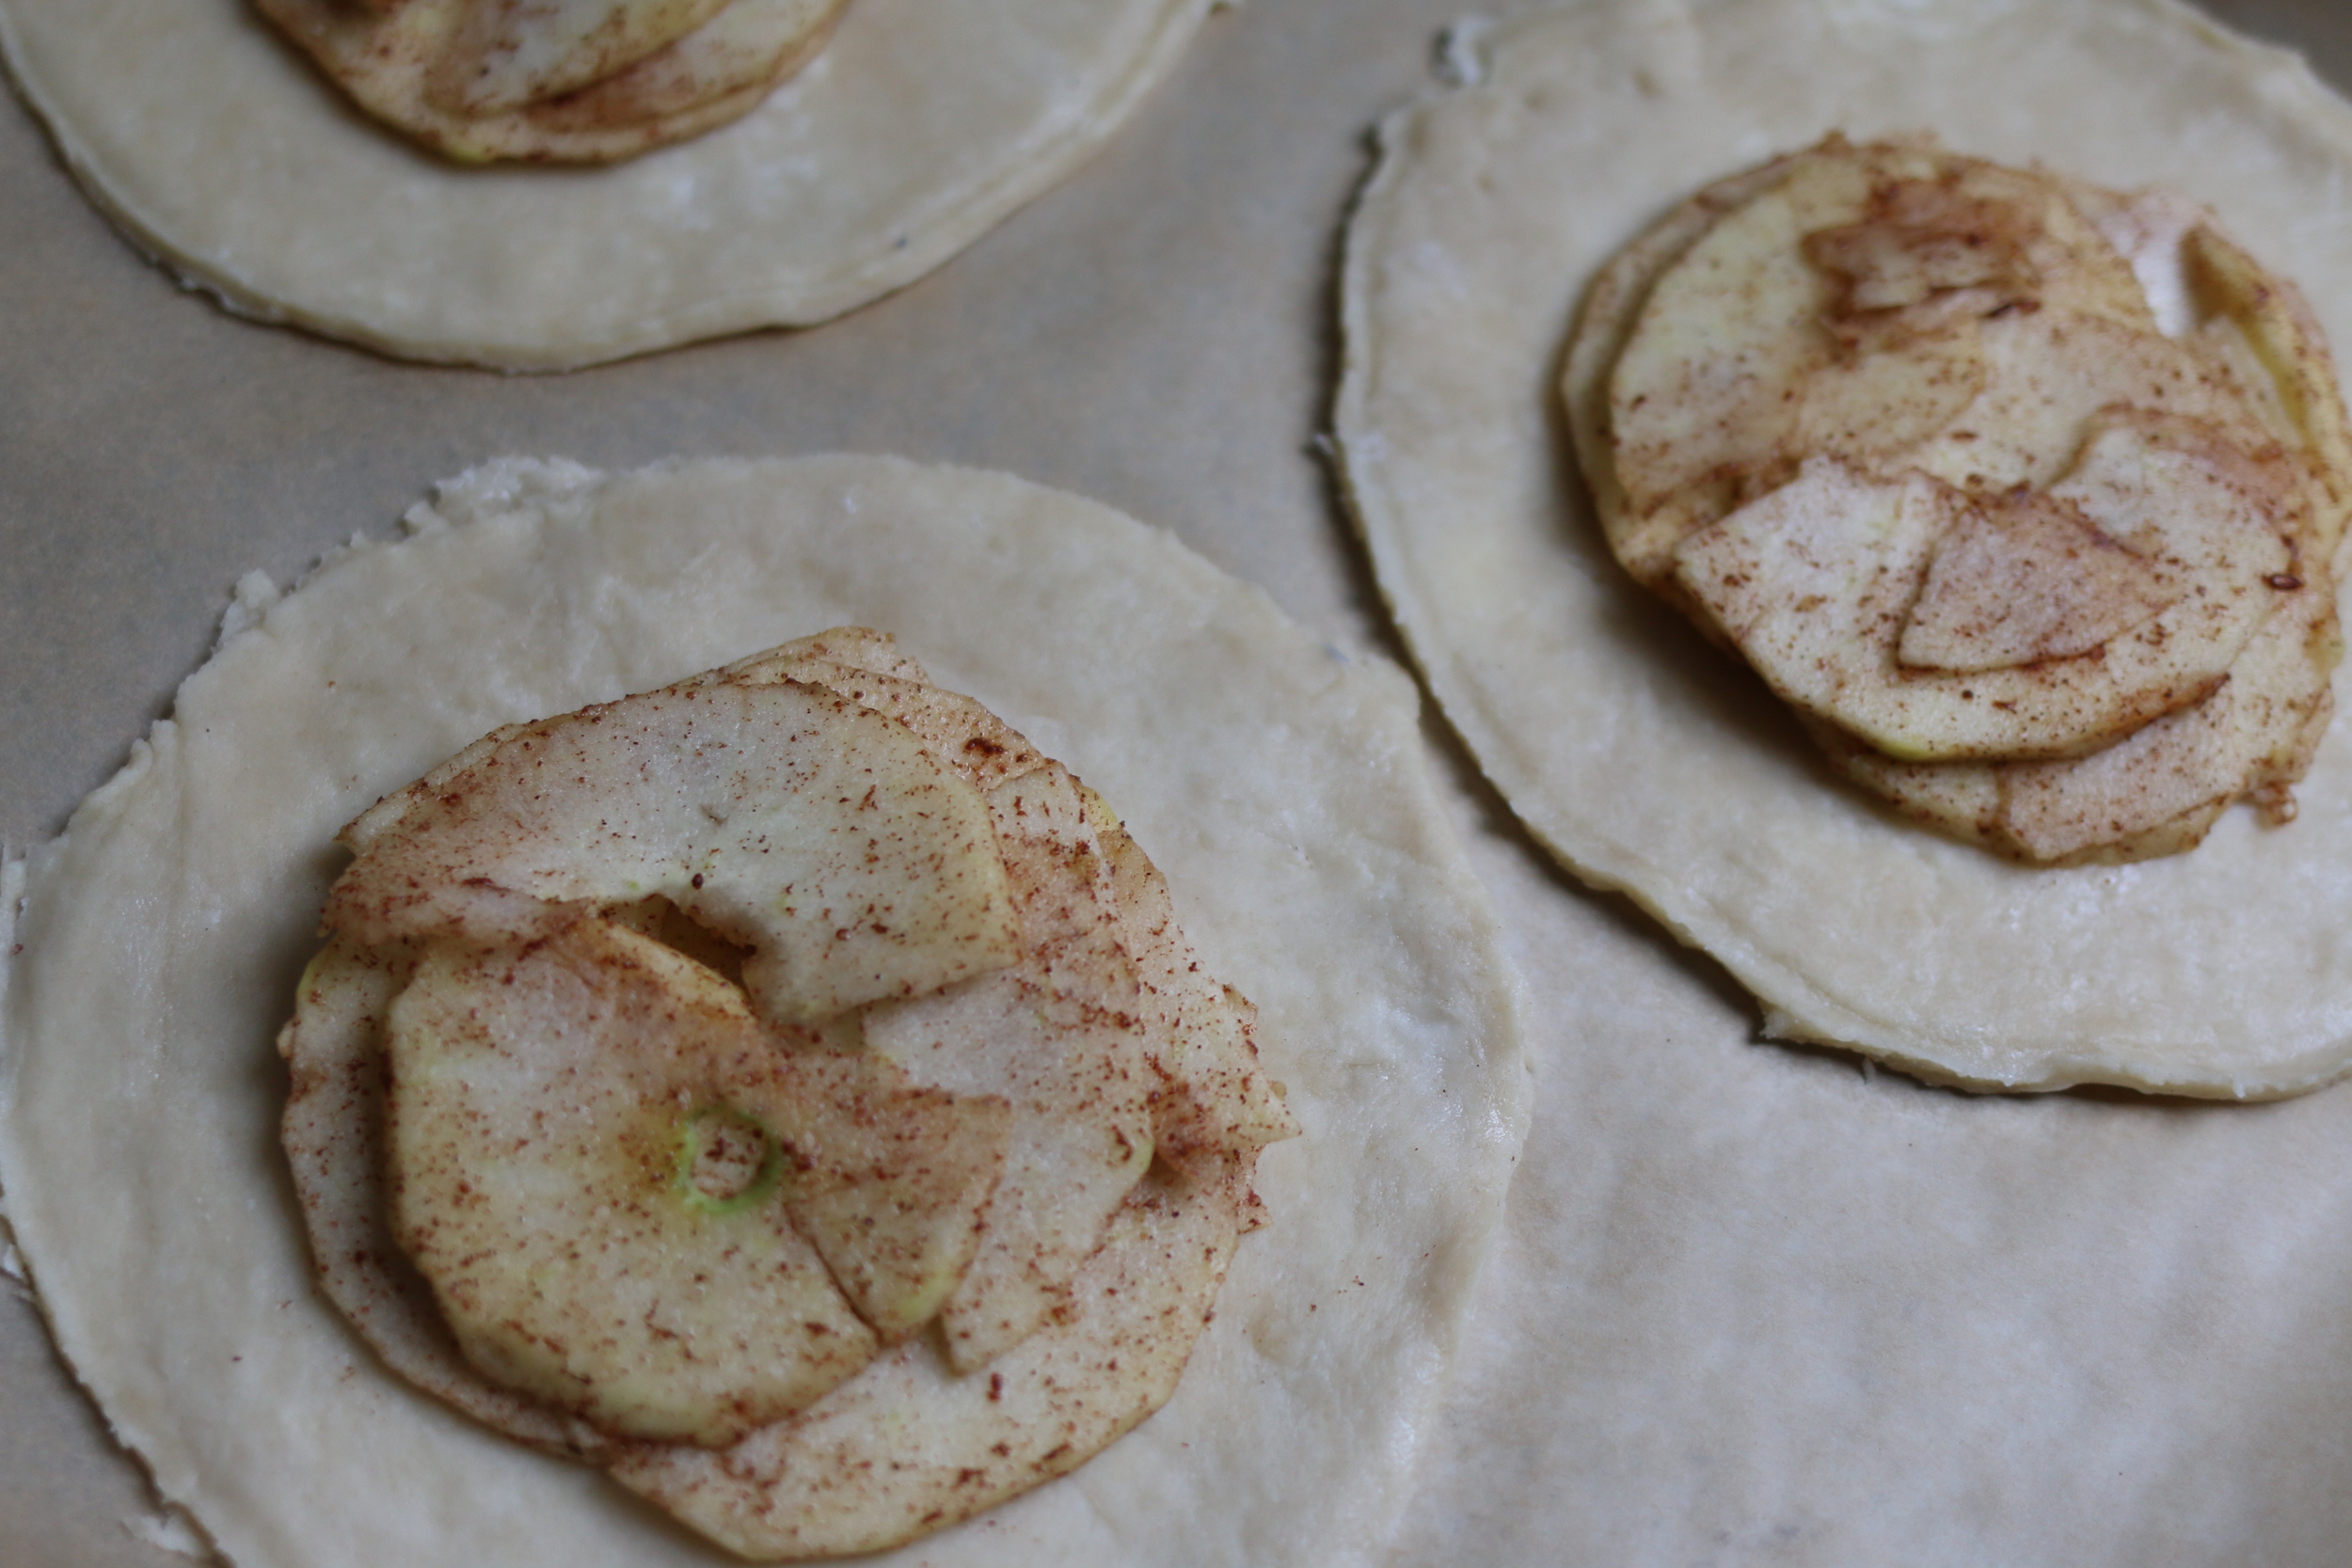
Using a mandolin or very sharp knife, slice the apples very thinly, all the way through the centre so you get nice round slices. Place the apple slices in a bowl and squeeze over the lemon juice to prevent browning and to add flavour. Next add the brown sugar, cinnamon, nutmeg, and vanilla.
Salted Caramel
Heat sugar in medium saucepan with 2 tablespoons of water. Stir constantly for 4-5 minutes with wooden spoon or heat resistant rubber spatula. The sugar will eventually melt and turn into an amber coloured liquid. At this point, very carefully add the butter to the sugar mixture and stir until melted. The mixture will bubble as the butter melts. Finally, slowly pour in the cream, taking great care as the hot mixture will bubble quite rapidly from the addition of the cold cream. It will rise in the pan as it bubbles away. Once combined, remove from the heat and add the sea salt flakes. If you have any salted caramel remaining after making the galettes, you can store this in the fridge for 2 weeks (just warm it up before you use it!).
Assembling the galette
Preheat the oven to 180˚C/350˚F.
Warm up your salted caramel by immersing your container in bowl of hot water for a few minutes.
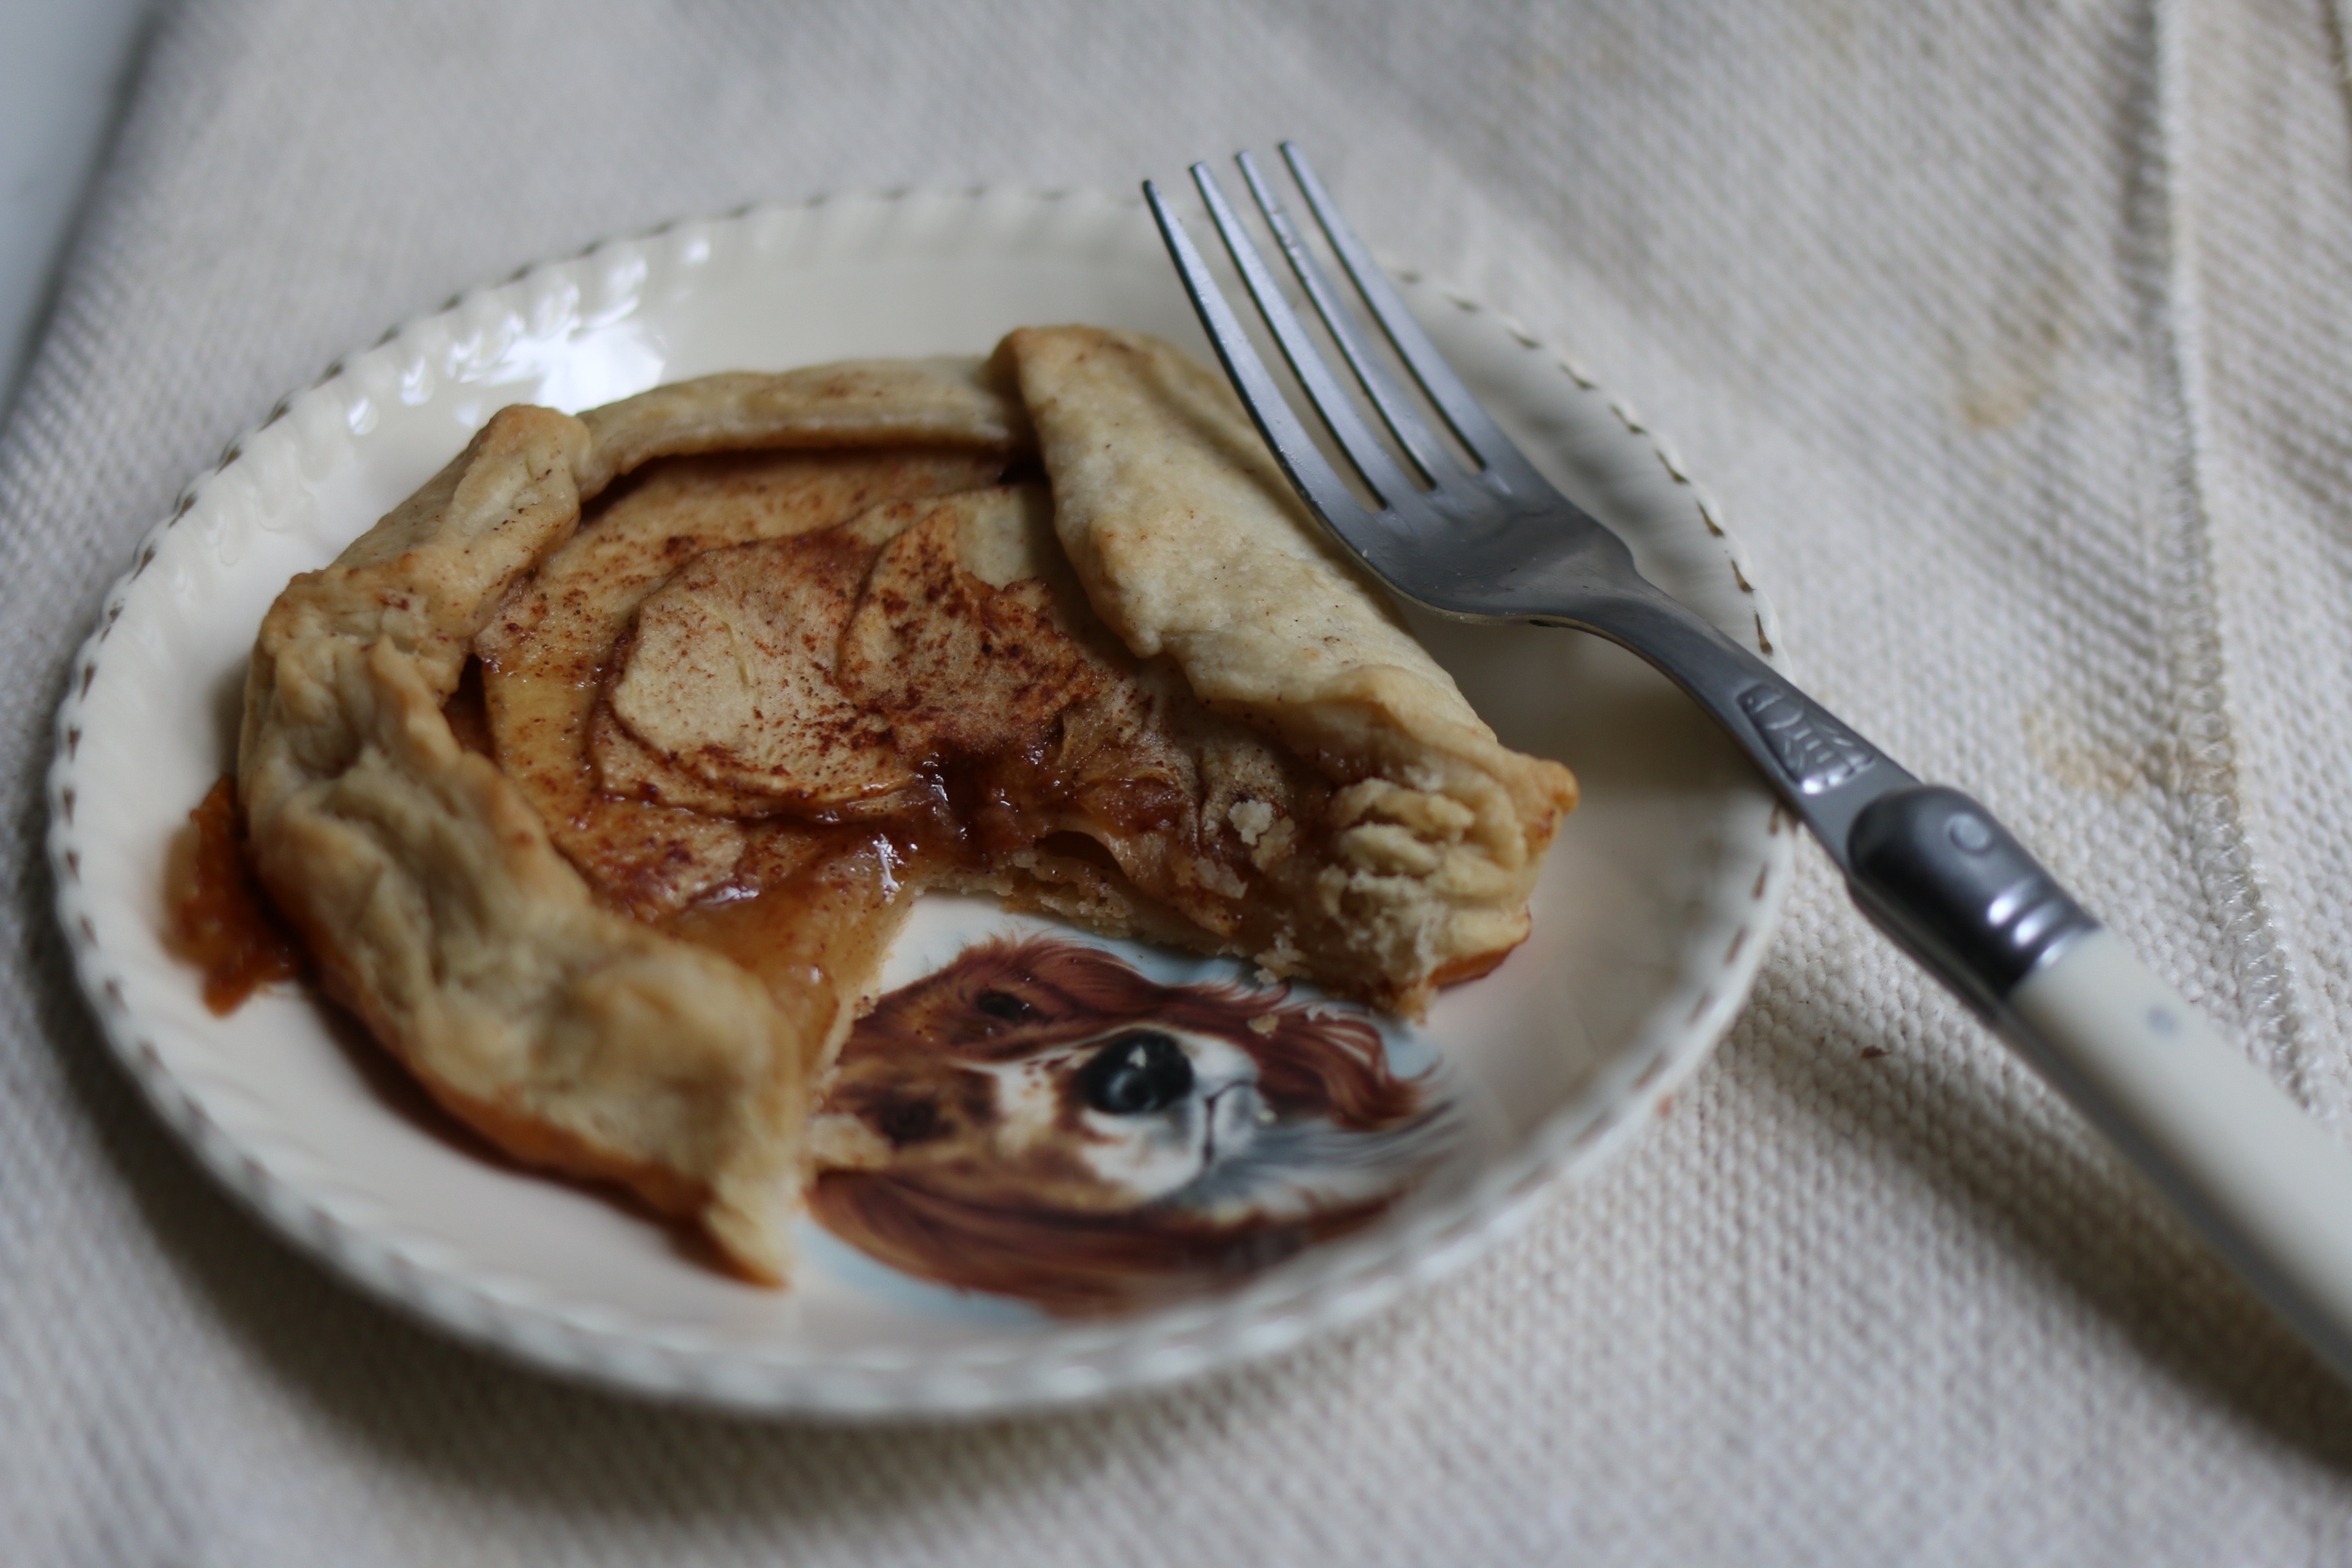
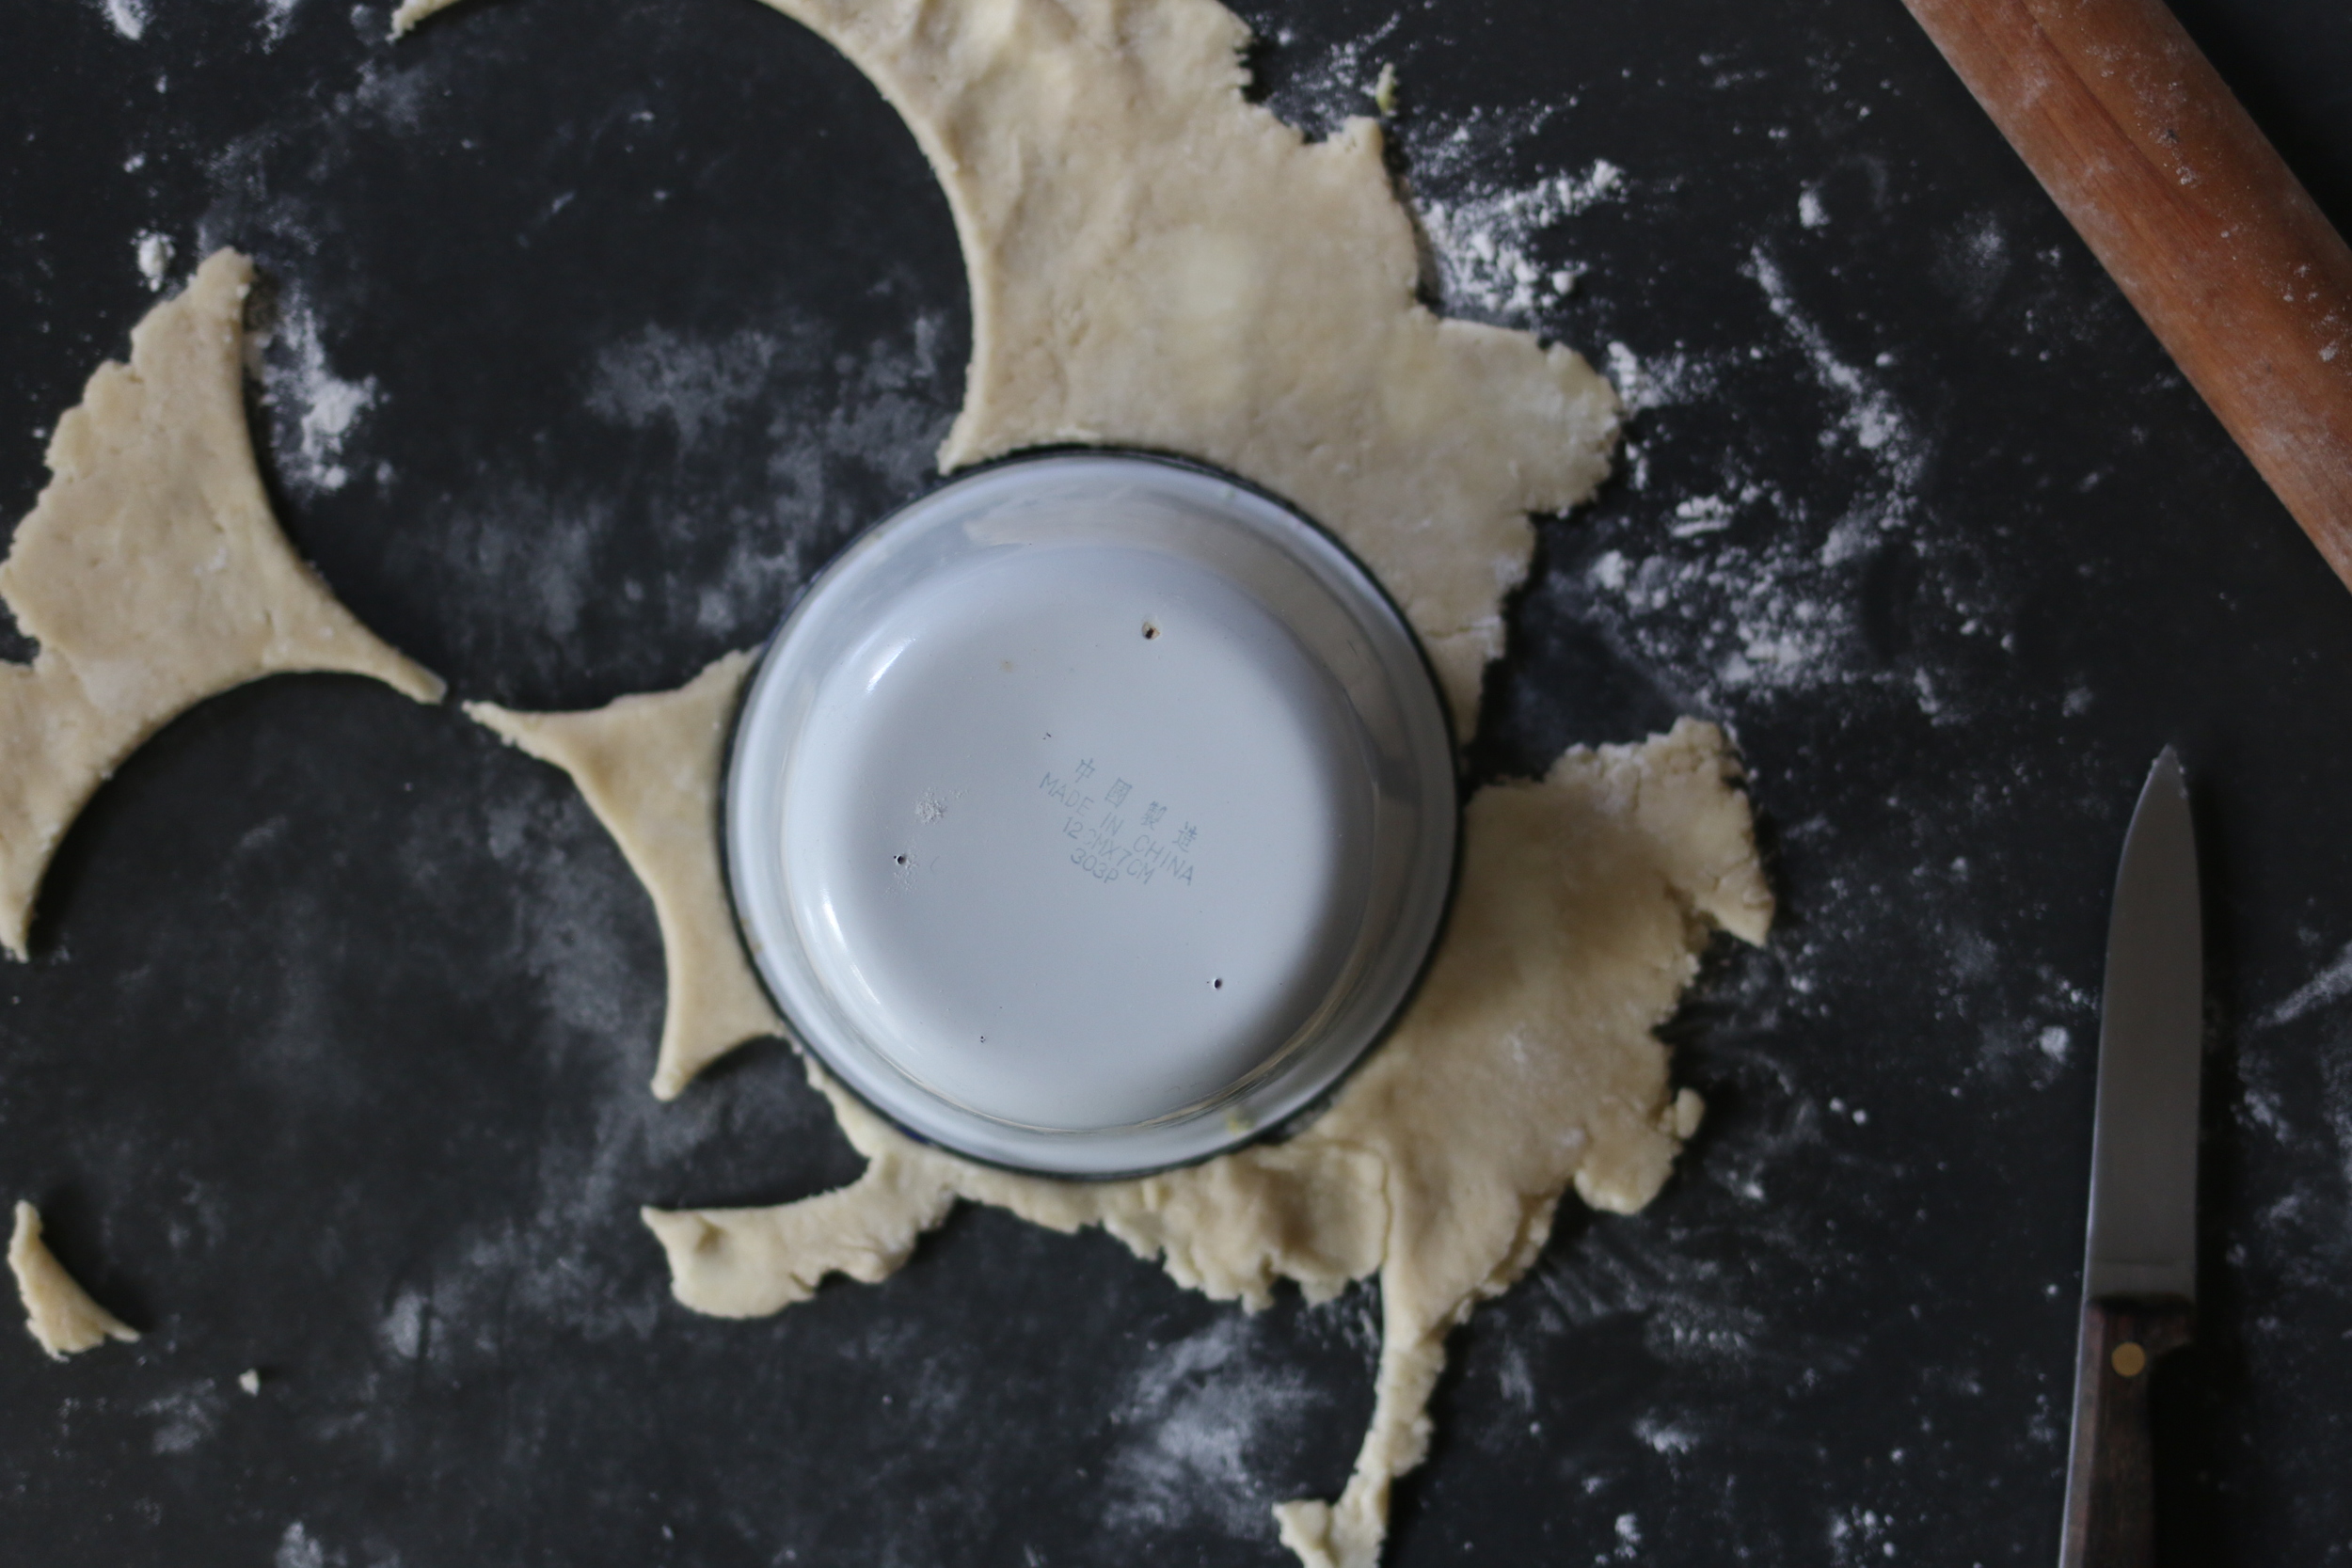
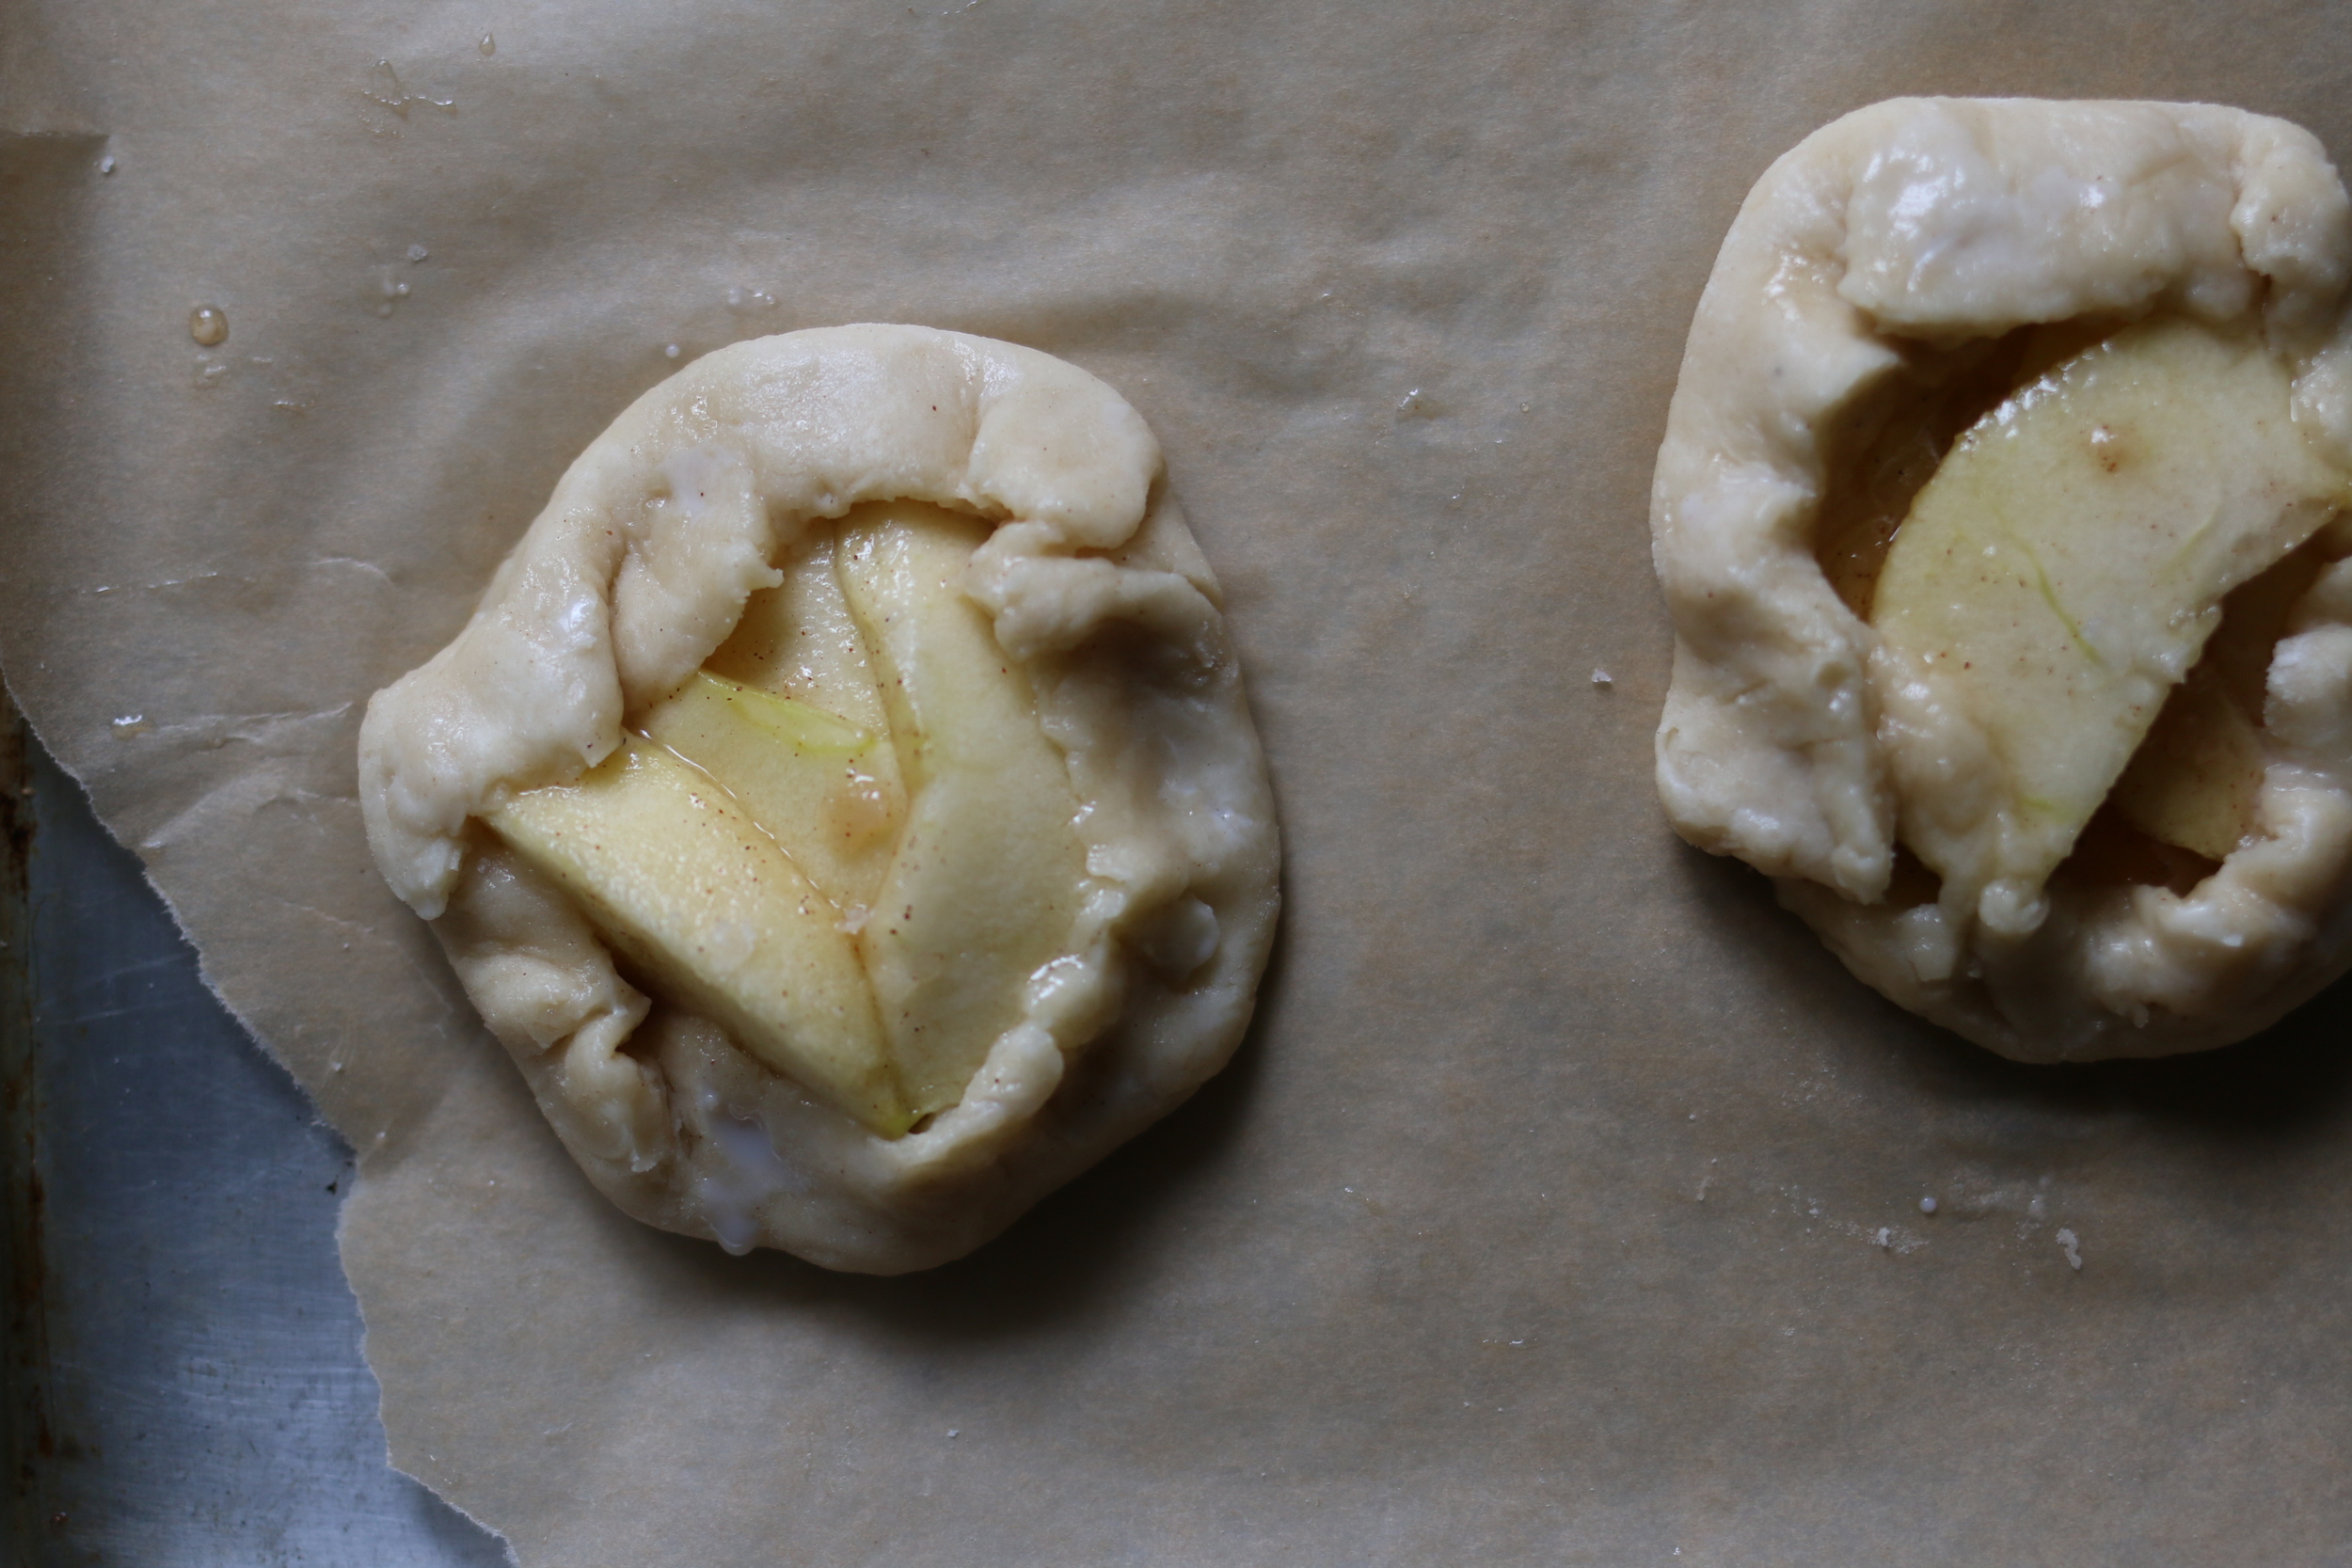
Flour your surface and roll out your cold pastry until it is about 3mm thick. Using a plate or bowl, carefully cut out 6 rounds – my pastry rounds measured 6.5in/16cm each. Transfer the pastry rounds onto a baking tray lined with parchment/baking paper. Spread about 2 teaspoons of salted caramel in the middle of each round, leaving a 1-inch/2.5cm border around the outside. Sprinkle a few sea salt flakes over the caramel. Pile the apples on top of the caramel, then fold the pastry over the apples, pleating to hold the fruit in. Add an extra dollop of salted caramel to the exposed fruit. Brush the pastry with milk and bake in the oven for 30-35 minutes, until it is golden.
Best eaten with vanilla ice-cream!